In designing for laser cutting with CorelDraw, the most crucial point is to set the thickness of all cutting lines to Hairline mode and use RGB color mode to separate the machine commands. Also, to avoid font errors and dimensional changes, be sure to convert all texts to curves with the Ctrl+Q key combination
In designing for laser cutting with CorelDraw, the most crucial point is to set the thickness of all cutting lines to Hairline mode and use RGB color mode to separate the machine commands. Also, to avoid font errors and dimensional changes, be sure to convert all texts to curves with the Ctrl+Q key combination and prevent double material burning by removing overlapping lines to have accurate and professional output. Designing for a laser cutting machine is different from regular graphic design. Here, you need to design for the machine nozzle instead of the human eye. Below, all the technical points and standards necessary for a perfect output are given:
In the critical settings of CorelDraw's workspace for laser cutting, the first step is to set the measurement unit to millimeters and select RGB color mode so that the machine can recognize color codes correctly. It is also very important that the thickness of the cutting lines is set exactly to Hairline and that the Vector cutting paths and Raster engraving are separated from each other using layer management tools to avoid machine errors and material damage.
Product purchase offer: Gift Box Templates

Unit of Measurement: Always set the unit to Millimeters to perform accurate engineering calculations and joints such as tongues and grooves. Setting the unit of measurement to Millimeters in CorelDraw is a prerequisite for precision in industrial and engineering projects. This allows you to design the smallest details, especially in sensitive joints such as tongues and grooves, with micron accuracy and the parts to fit together perfectly after laser cutting without the need for additional sanding or gluing; so before starting any design, make sure to change the unit from inches or pixels to millimeters in the Property Bar.
Color Mode: Set the environment to RGB from the beginning. Unlike printers, laser machines understand RGB color codes to distinguish cutting from engraving. Choosing the RGB color mode at the beginning of the project is the common language between your design and the laser cutter. Unlike the printing industry, which uses CMYK, laser controller boards use pure RGB color codes to identify the type of operation; by assigning pure red to the cutting lines and black to the engraving sections, the device can understand the difference between layers with high accuracy and prevent incorrect execution of commands.
Vector Cutting cutting line standards are based on millimeter accuracy and Hairline thickness; meaning that only lines with this thickness are recognized by the device as a cutting path. For a professional output, it is essential that all lines are designed seamlessly and without any Overlapping, because the presence of overlapping lines leads to multiple passes and burning of the edges of the work. Compliance with these standards ensures that the device nozzle follows the path smoothly and the parts are separated from the material with the least amount of error and the cleanest edges.
Hairline Thickness: The most important point here; The thickness of the lines to be cut should be set to Hairline. If the thickness is even slightly higher, the machine will recognize it as a Raster engraving and will only scratch it. In the world of laser cutting, setting the thickness to Hairline is the difference between failure and success of the project; because the machine’s controller board will only recognize lines with this minimum thickness as a cutting or vector command. If the line thickness is increased even by a small amount, such as 0.1 mm, the machine will mistakenly consider it a surface and enter the engraving or raster phase, which will only create a surface scratch instead of completely cutting the material. Therefore, to ensure complete separation of the parts, you should set all cutting paths to Hairline in the Outline Pen settings panel before outputting.
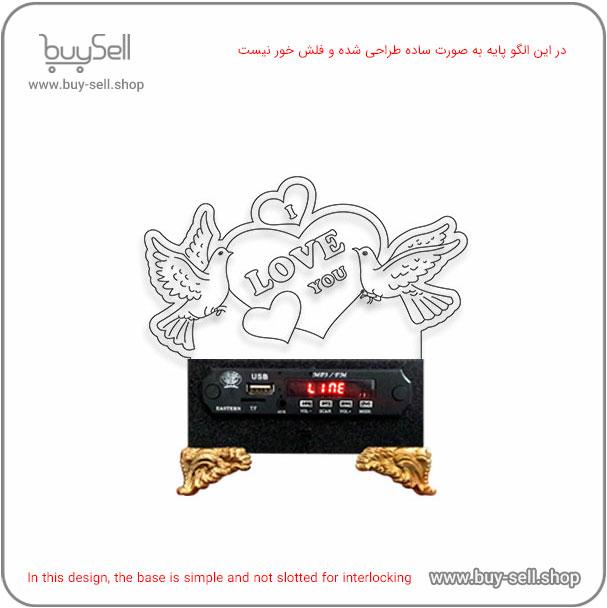
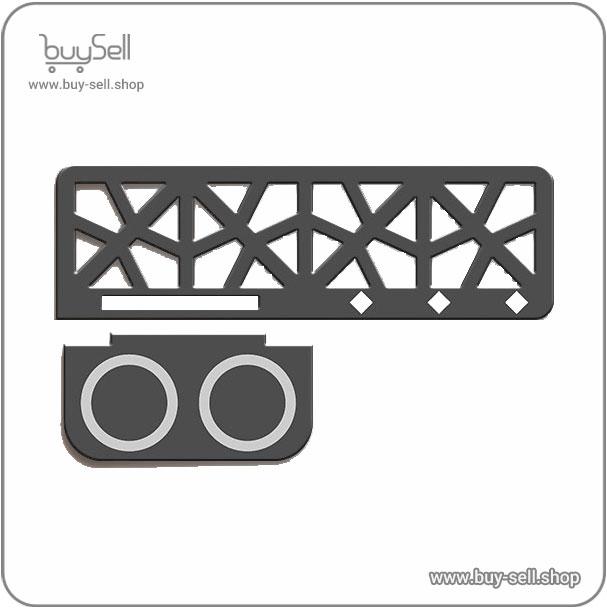
Product purchase offer: Laser Cut Office Desk Organizer Files

Removing overlapping lines: If two shapes share a common side, no two lines should overlap. The laser will cut any line it sees; Therefore, passing the laser twice over a point causes severe burn, waste of time, and work failure. Use the Virtual Segment Delete tool to remove these lines. Removing overlapping lines is one of the most critical steps in optimizing a file for laser cutting, because the laser machine, without intelligent detection, executes any path it sees in the design. If two shapes share a common side and the lines overlap, the laser has passed over that point twice, resulting in severe burn of the edges, waste of time, and reduced accuracy of the parts. To avoid this problem, using the Virtual Segment Delete tool in CorelDraw is the best solution to create a single, clean path for the machine nozzle by removing excess sides, ensuring the health of the material and the final quality of the work.
Preparing text and fonts requires converting all text to Vector paths using the Convert to Curves (Ctrl+Q) command to prevent font changes or layout confusion on laser-connected systems. In addition, in designing Persian letters that have enclosed sections, such as the middle of the letter , delicate connections must be created using the Stenciling bridging technique so that after cutting, the internal details of the letter are not separated from the main body and the final piece maintains its integrity.
Convert to Curves: Never send a file with live text. Always select all the text and press Ctrl + Q. This will convert the text to a Path path so that font changes are not made on other systems. Converting text to curves using the Ctrl + Q shortcut key ensures the safety of your design in the transition between different systems; because this command converts live fonts to geometric Path paths. This way, you will no longer have to worry about not having your own font installed on the laser machine’s computer, and you will avoid sudden changes in the layout or jumbled letters. In fact, with this simple move, your text will be converted into a fixed graphic form for the laser machine and will be cut or engraved exactly as you designed it.
Stenciling: In Persian letters such as , the inner part of the letter falls off after cutting. If you want the inner part to remain, you need to connect it to the main body by creating a thin line. Stenciling is a clever way to preserve the suspended details in Persian letters; because in laser cutting, the inner parts of letters such as ح, م or ت separate from the main body and fall off after the work is finished. By creating very delicate bridges and connecting the inner layers to the main body, you prevent the design from collapsing and maintain the visual coherence of the text. This not only enhances the physical structure of the piece, but also gives an industrial and professional look to your signmaking projects or leather and wood accessories.
Engraving techniques are divided into two general categories: linear and surface engraving, the choice of which one depends on the visual effect you want. In surface or raster engraving, the device burns the entire space inside a closed shape filled with color with a rapid back and forth motion to create depth and texture, while in linear engraving, the nozzle only moves over the perimeter of the object and follows lines thicker than Hairline. To achieve the best quality in engraving images, it is necessary to set the resolution to 300 to 600 dpi and use Grayscale mode to accurately engrave details and highlights on materials such as wood, leather or plexiglass.
Linear vs Surface Engraving: To engrave thin lines such as veins, use a line thicker than Hairline. To engrave large surfaces, fill the inside of the shape with color (Fill). The difference between linear and surface engraving is the key to time management and quality in laser projects; so that to create fine and fast details such as veins or contour lines, it is enough to set the line thickness slightly more than the hairline (for example, 0.5 mm) and the machine will engrave it as a thick line instead of cutting. Conversely, to create deep and wide surfaces, you should fill the inside of the shape with color (Fill) and the machine will carve the entire area in a shallow way with a reciprocating motion. Using these two techniques together intelligently not only doubles the depth and visual appeal of the design, but also increases the speed of the project in an optimal way.
Image Resolution: If you are going to engrave a bitmap image like a portrait, the image resolution should be between 300 and 600 DPI. When you are dealing with bitmap images like portraits and intend to engrave them, the image resolution plays a significant role in the final quality of the work. To achieve sharp and precise details, it is recommended to set the image resolution between 300 and 600 DPI. Resolutions lower than this range can lead to pixelation of the image and loss of fine details, while higher resolutions may not make a significant difference in quality and only increase the file size and processing time. Therefore, setting the resolution within this standard range helps maintain the quality and clarity of the image for engraving.
Understanding the concept of Kerf is crucial to achieving engineering accuracy; Because the laser beam melts or evaporates about 0.1 to 0.2 mm of the material as it passes through it, causing the final piece to be slightly smaller than the designed dimensions. To solve this problem, especially in the manufacture of boxes or puzzle joints that require precise locking, you should consider the dimensions of the internal parts to be half the width of the laser gap larger so that after cutting, the parts are locked together without any play and are completely solid. Failure to pay attention to this empty space in delicate designs will lead to loose joints and reduce the quality of the final product structure. The laser melts or evaporates about 0.1 to 0.2 mm of the material when cutting. If you have parts that need to be locked together, such as puzzles or boxes, you should design the dimensions of the internal part to be about 0.15 mm larger so that there is no play after cutting.
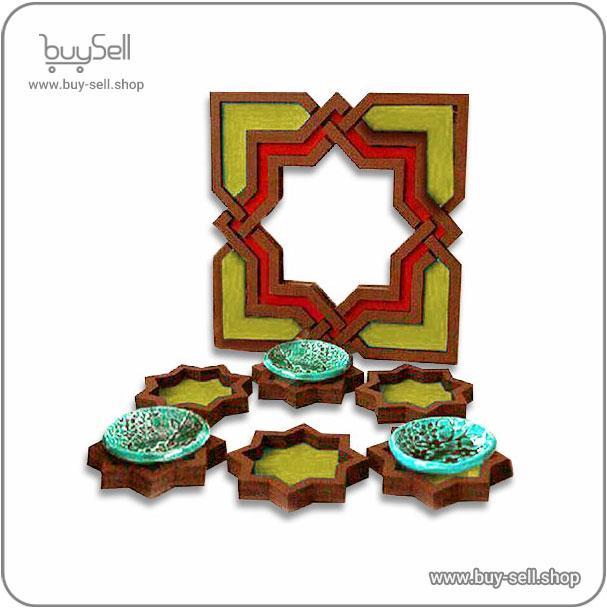
Product purchase offer: Haft Sin laser design
To reduce material waste, arrange the parts tightly together. But make sure that the distance between the two cutting lines should not be less than the thickness of the material itself. For example, in 3mm plexiglass, the distance between the two parts should be at least 3mm so that the heat does not deform the edges. Nesting optimization is not only a solution to reduce material waste and save money, but also guarantees the structural health of the parts. By arranging the parts tightly and intelligently together, you can get the most out of the sheet; but observing the safety distance between the cutting lines is vital. According to technical standards, this distance should not be less than the thickness of the material itself; for example, in cutting 3mm plexiglass, it is necessary to observe at least 3mm distance between the parts so that the accumulation of heat caused by the laser beam does not cause melting, deforming the edges or burning the material and the final quality of the work is fully maintained.
The best format for most laser devices such as RDWorks or LightBurn is DXF or older versions of CDR version 15 and below or PDF, which fully preserve vector features.
The Export step is the point of connection of your design to the physical world, and choosing the right format guarantees accurate execution of commands. For most laser controller software such as RDWorks or LightBurn, using DXF format due to its engineering structure or older versions of CDR version 15 and below for high stability are the best options. Also, the standard PDF format is a safe choice due to its complete preservation of vector features and layers, which prevents any unwanted changes in dimensions or line quality during transfer to the device.
Ultimately, success in producing a precise and professional product using laser cutting depends on strict adherence to design standards in Corel Draw software. Setting the unit of measurement to millimeters, selecting the RGB color mode, and ensuring the hairline thickness for the cutting lines is half the battle for quality; while paying attention to details such as converting texts to curves, observing the safety distance in the nesting arrangement of parts, and considering the kerf cutting gap, prevents costly errors and material waste. Mastering these practical tips not only increases the speed of the production process, but also guarantees perfectly engineered outputs that are exactly as your ideas are transformed into reality.

May 04, 2025

Apr 28, 2025

Apr 20, 2025
Apr 23, 2025
Oct 29, 2025
Subscribe to the Buy Sell newsletter and enjoy its benefits.